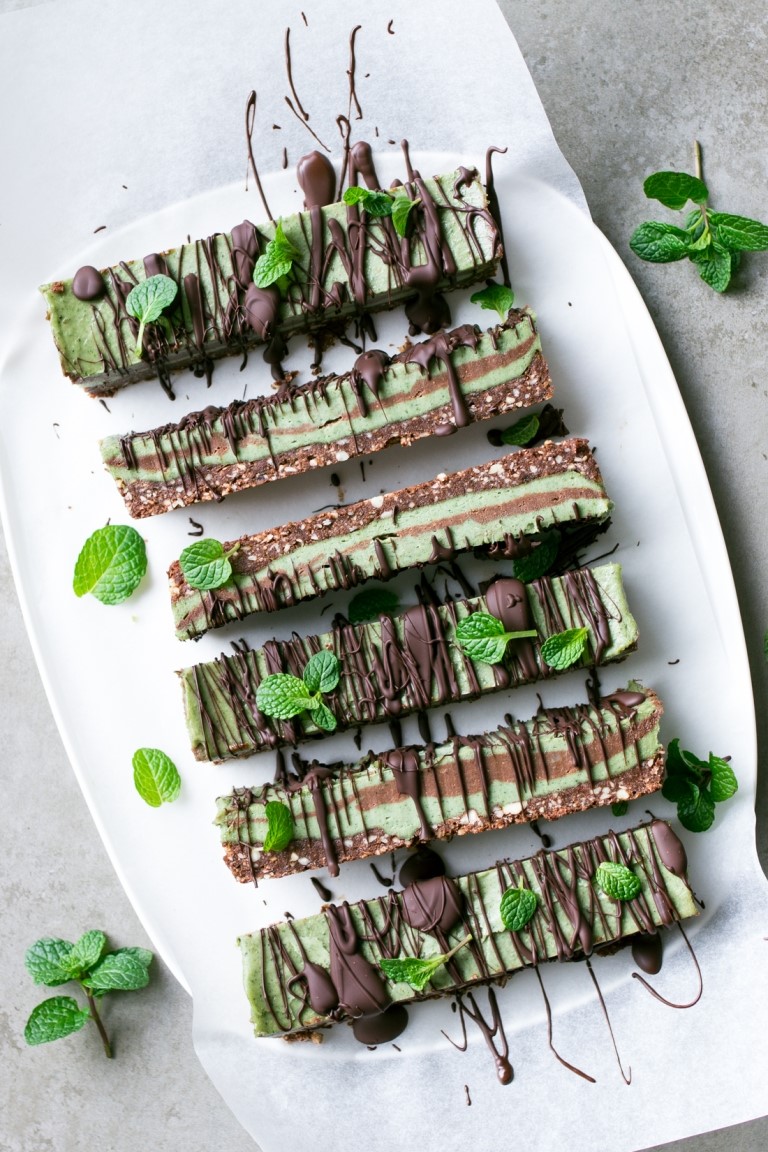

CHOCOLATE MINT SLICE – VEGAN, GLUTEN & DAIRY FREE
Author: Tina Khoury (The Barefoot Housewife)
Category: dessert

INGREDIENTS
Base
1 cup of raw almonds
1/4 cup of cacao
1/4 cup of shredded coconut
1 cup of pitted dates (I find Medjool the best)
Filling
2 cups of raw cashews that have been soaked overnight, rinsed & drained
1/4 cup of melted coconut oil
6 pitted dates
3/4 cup of tightly packed fresh mint leaves
1/4 tsp of spirulina powder (optional: for extra colour)
1/2 tsp – 1tsp of peppermint oil
3 tbs of cacao powder
INSTRUCTIONS
- Base
Pulse all your ingredients in a high-speed blender or food processor until the mixture sticks together, you want to retain some texture.
Press evenly into a lined tin 23cm x 18cm.
Pop the base into the freezer while you make the filling - Green Filling
Blend all the filling ingredients EXCEPT the cacao in a high-speed blender or food processor until smooth.
Start with 1/2 tsp of peppermint oil & increase if needed after blending. Set aside 1/3 of the filling (this will be the chocolate layer).
Layer 1/3 of your green filling onto your base, then return to the freezer to set a little. - Chocolate Layer
Using the 1/3 of filling you set aside, sift in 3 tbs of cacao powder & mix well.
Layer this onto the green filling, then return to the freezer to set a little.
Layer on the remaining green filling & return to the freezer.
Decorate with melted dark chocolate. - Cut into portions & store in a sealed container the freezer, allowing to defrost a little before eating.